Difference between revisions of "Android E-mail"
From SupraWiki
| Line 18: | Line 18: | ||
"<br><br>[[Image:android6.PNG]]<br><br> | "<br><br>[[Image:android6.PNG]]<br><br> | ||
"<br><br>[[Image:android7.PNG]]<br><br> | "<br><br>[[Image:android7.PNG]]<br><br> | ||
| − | "<br><br>[[Image:android8.png| | + | "<br><br>[[Image:android8.png|400px]]<br><br> |
| − | "<br><br>[[Image:android9.png| | + | "<br><br>[[Image:android9.png|400px]]<br><br> |
Revision as of 12:58, 10 July 2017
These directions are written for Android version 2.3. To add a new mail account:
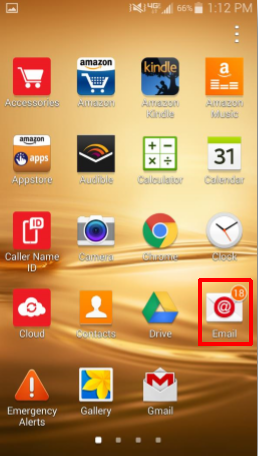
- From the app menu, touch the E-Mail icon. If you do not have an account configured, it will prompt you for settings.
- Enter your email address and password on the first page, and touch "Next"
- Select POP3 or IMAP. If you will be checking mail on another computer as well, we recommend using IMAP on your handheld device.
- Enter Incoming server settings as shown below. Username should be your full email address, and the password should be your normal e-mail account password. Touch "Next".

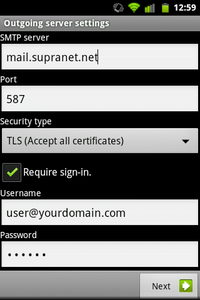
- Enter Outgoing server settings as shown below. Again, username should be your full email address. Touch "Next".
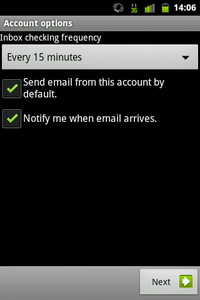
- On the Account options page, the default settings are generally okay. You may want to change the frequency, however more frequent checks can impact battery life. Touch "Next".
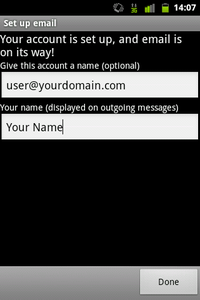
- Finally, you can enter an optional account name (useful if you're setting up multiple accounts), and a display name that you want recipients to see on your messages. Generally, you want this to be your name. Touch "Done".
- That's it! Your new SupraNet email account is set up. If you received errors during your setup, or if your new mail account doesn't work, please call us at 608.836.0282.


"
"
"
"
"
"
"
"